Posts

Showing posts with the label diy

diy signs

Image
Sometimes I wish I had the money to fork out for all the cute handmade things on Etsy, but handmade things are expensive, so I just can't do it. And it's actually okay, because I love to craft, and I really love the satisfaction of saying, "Thanks! I made it!" when somebody compliments my crafts :) So when I was trying to figure out what I wanted to put above the bed in our master bedroom, I saw these signs on Pinterest and decided something like that would be perfect. I was pretty sure I could make one myself for less than $125 though :) I cut a piece of 1/4" tempered plywood that I already had down to 44"x12" for the background piece and then painted it Behr Sterling (light grey). I found this tutorial on Pinterest of how to transfer a printed word or phrase onto your canvas (in my case, the plywood). I took a few graphic design classes in college, so I used my InDesign skills to create the look I wanted with my chosen phrase, fonts, and pl...
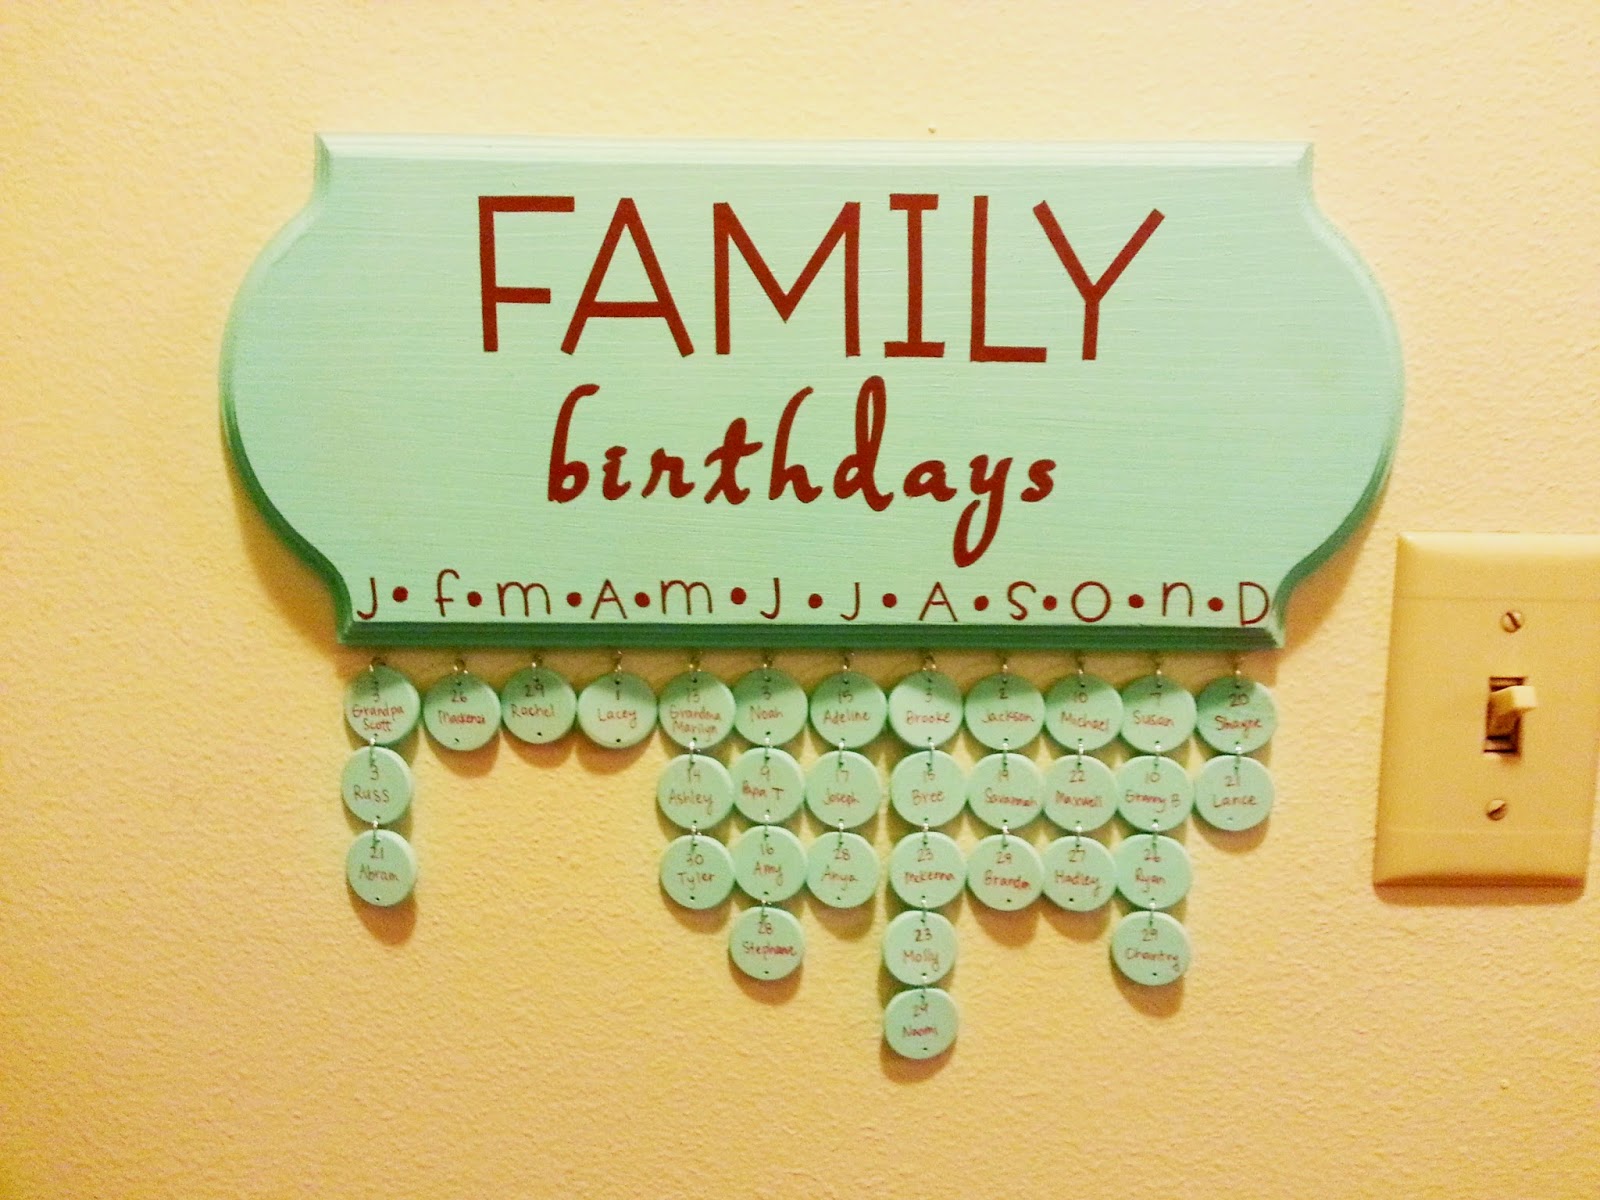
family birthdays

Image
Remember earlier in the summer when I first got started on making a family birthday board ? Well I finally got it all finished and hung up! The color is all off because the lighting of where I hung it is awful. Even after photoshopping, it's not quite right. The original post shows the colors better. Finding all the right supplies took some time, but I'm happy with how it turned out :) Russ had to help me drill holes in the tops and bottoms of all the circles because I couldn't find any that already had holes, but it worked out okay. Now I'll be able to remember everyone's birthdays! And the best part is that I can add to the board at any time because I used jump rings between the circles :) How do you remember family birthdays? :)

summer staple

Image
So the other day, I was over browsing at Tattered to Taylored and I came across this great DIY ! I was in Target shortly thereafter and saw the very same $3 bag, so I decided to give it a try. I won't give you the full tutorial, since Taylor already did a great job of that, but I'll just clue you in on what I did differently. When I gathered all the supplies together (bag, acrylic paint, paintbrush, & masking tape), I remembered how much I love stripes and how I miss that striped bag I didn't buy , so I decided that I would do stripes rather than the color block that Taylor did (though I loved that option, too). I did 3 stripes, each one being 4 rows, with 4 natural rows between each. I left 6 rows empty at the top. Since the bag is made by going around and around with the rows, you can't just stay on your 4 rows. You'll need to choose where you want to make the transition, and then make sure it's gradual. It isn't too noticeable unless you look up...