diy signs

Sometimes I wish I had the money to fork out for all the cute handmade things on Etsy, but handmade things are expensive, so I just can't do it. And it's actually okay, because I love to craft, and I really love the satisfaction of saying, "Thanks! I made it!" when somebody compliments my crafts :)
So when I was trying to figure out what I wanted to put above the bed in our master bedroom, I saw these signs on Pinterest and decided something like that would be perfect. I was pretty sure I could make one myself for less than $125 though :)
I cut a piece of 1/4" tempered plywood that I already had down to 44"x12" for the background piece and then painted it Behr Sterling (light grey).
I found this tutorial on Pinterest of how to transfer a printed word or phrase onto your canvas (in my case, the plywood). I took a few graphic design classes in college, so I used my InDesign skills to create the look I wanted with my chosen phrase, fonts, and placement. I printed it off at a local print shop. This was actually my least favorite price to pay for the whole project because even though I was printing in black and white on the cheapest possible paper, the size was so big that the print was $6.50! Not a big deal if that's what I was going to frame, but in the end it was a piece of the project that just got thrown away! Anyway, rant over 😂
The linked tutorial above gives all the main steps to do the project so I won't repeat that, but here are a few tips that I didn't get from the tutorial:
- I used a giant construction pencil instead of a regular one. I like to think this made things go faster :)

- Since my project was so much bigger than hers, I ended up using a fine tip paint pen to do outlines (after the pencil transfer) and a chunk tip paint pen to fill in. I started filling in with the fine tip pen, but it was taking forever and my pen started running out of paint after like two letters.

- When I worked on this sign, my black fine-tip paint pen worked more like a normal marker. However, on another sign I made, the tip (of a different marker) kept letting out a bunch of paint and I almost ruined my project like four times! (Luckily, I smoothed the paint and got it to go where it needed to go. *phew!*) So I guess just be wary of your paint pens since you can't be sure whether it will be like my black paint pen or my white one.
- Transferring the letters works really well, but the pressure of my hand transferred some other pencil lead onto my project. I tried to use a regular pencil eraser, but that didn't work. I also tried a wet paper towel, but I was worried about pressing too hard with the recently painted background of water-based paint. What worked for me was a gum eraser I picked up at Walmart.

- So I know I just said that transferring the letters works really well, but there's kind of a caveat. I did this text transfer thing on two different mediums -- painted tempered plywood and stained regular wood. The pencil lead showed up really well on the painted plywood, but it was a lot harder to see on the stained wood (possibly just because I used light paint but dark stain). Additionally, the outlines created grooves in the regular wood but had no effect on the tempered plywood. I guess just be aware of those things and let that help you make your decision on what medium to use. In the end, the grooves didn't really matter on my regular wood piece, but maybe it would be worse if you used a lighter stain or something.
- One great thing about transferring the letters is that you can slightly adjust them if you want to. For instance, with the sign below, I didn't like that the "r" didn't have a tail and I didn't like the way the "s" was connected to the other letters. I made minor adjustments and I like it so much more! On another sign, the font I like had a bunch of holes in it, but I wanted solid block letters. So I used the outlines of the font, but didn't worry about the holes in the letters :)


- Because my project was so big, it was hard to make it level. I really tried, but it ended up with a 0.016 slope, which is actually kind of significant -- an inch and a half drop over the course of the whole thing. But even though I detected this after penciling everything, I opted to just keep it because the penciling took so long. So take whatever measures you can to ensure that your words are level BEFORE pencil-transferring them. (Though in my opinion, the slope isn't really detectable on the finished product.)
After the main piece was ready, it was time to build a frame. For the frame, we got two eight-foot 2x2's and cut them both in half. Then Russ worked some magic at his uncle's wood shop to build the frame. He cut grooves using a table saw. He had to put the blade very slightly off-center and then go down the length of the wood in both directions so that the quote piece could fit into the groove. He then cut the angles using a miter saw, measuring against our quote piece after every cut. I stained the pieces black and then did one coat of polyurethane. Once that all dried, we wood glued the whole thing together and used this cool frame clamp to keep it securely in place. We just left the clamp on overnight. Then we bent some cup hooks we had into loops instead of hooks, attached them to the frame, and attached wire between the two loops. We (Russ) decided to use this method of hanging so that the frame could be completely flush with the wall.


Cost breakdown for "In Your Arms" quote:
Main wood piece: free! because I already had it from a different project.
2x2's: $4
Printed words: $6.50
Grey paint: $4 (sample size)
Black stain: $5 (8 oz. size)
Fine tip markers (assorted 5 pack): $13
Chunk tip marker: $3.50
Gum eraser pack: $2.50
Frame clamp: $7
Hanging materials (cup hooks and wire): free -- already had materials.
TOTAL: $45.50, with leftover paint, stain, marker paint, and erasers, which I also used for both of my other signs. I'd say that's a fair bit better than $125, what do you think?

Cost breakdown for "I forget the rest" quote:
Wood piece: $10
Printed words: $4
Already had all other materials
TOTAL: $14
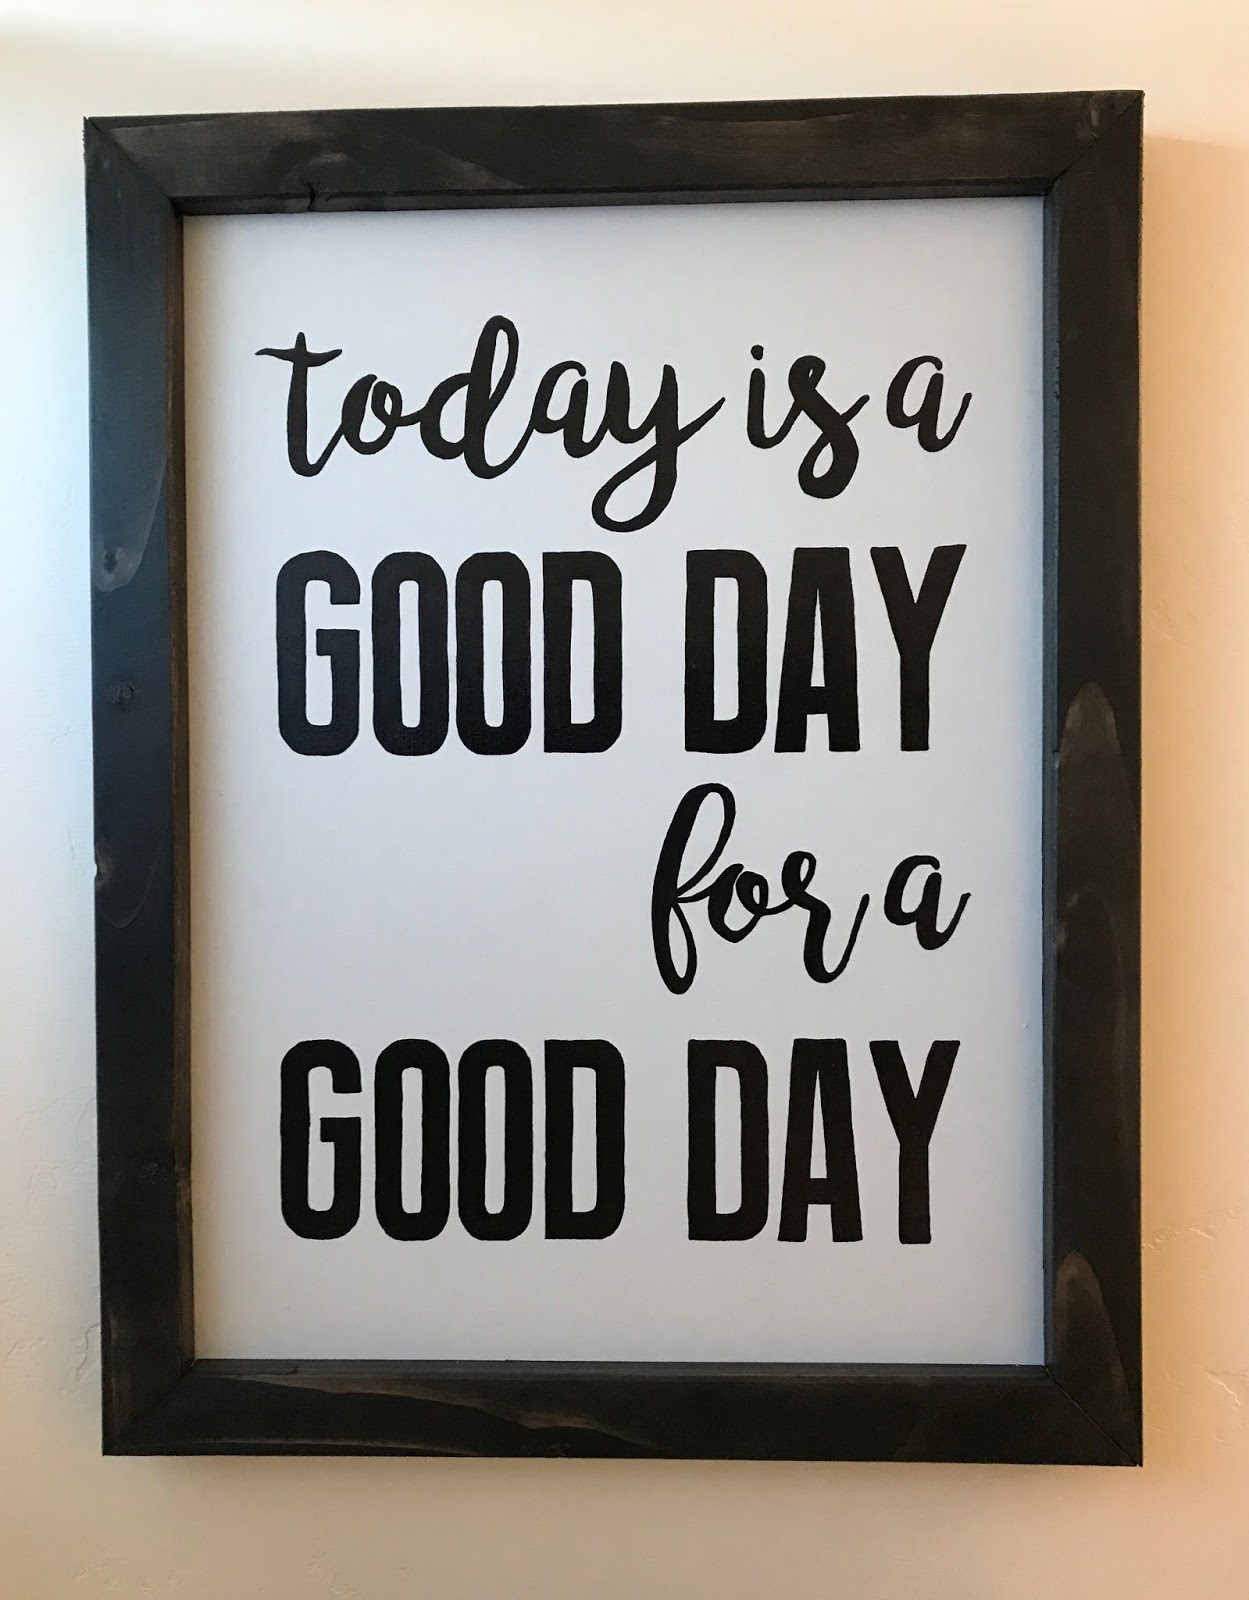
Cost breakdown for "Good Day" quote:
Printed words: $4
2x2: $2
Already had all other materials
TOTAL: $6
For the "I forget the rest" quote, I just hung it using command velcro, and we did the "good day" quote the exact same way as the "in your arms" quote.
I had fun creating all these pieces for my home, and I especially like that I spent $65 (with leftover everything) on three signs instead of $125 on one. If you make a sign, let me know! I'd love to see how it turns out :)


Comments
Post a Comment
Leave some comment love! And if you're a no-reply blogger, check back here for my replies :)